|
Navigation: The User Interface > What is in Simplicity > Toolbar > Clients (Browse) > Client Dashboard > Client InformationProgram Navigation: toolbar > Clients > Insert > Client Dashboard |
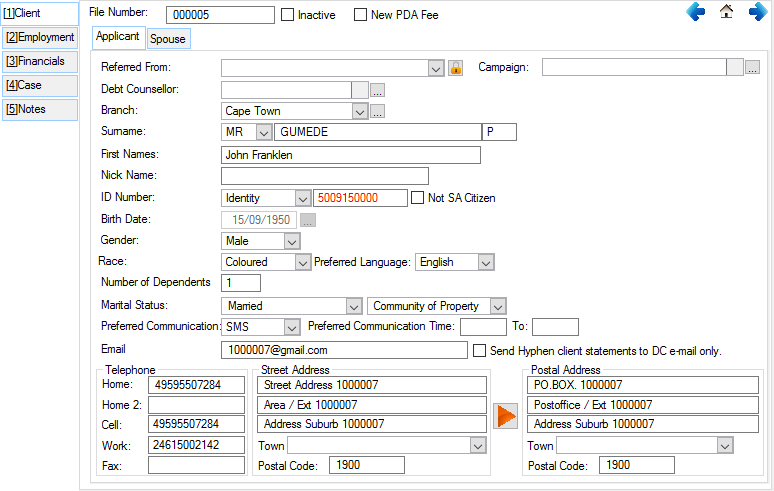
·The contact details of the client are uploaded to Hyphen with the plan which Hyphen then use to communicate statements and the Login details for the Hyphen Consumer portal to the client.
· The Hyphen Consumer Portal is a website hosted by Hyphen where the clients can log in and view current balances and payment history as per the information that has been uploaded to Hyphen.
·In the case where the consumer does not have an email address there is an option that allows Hyphen to send the consumer statement to an email address at the DC and not to the consumer. The consumer can then pick up his statement directly from the DC.
·There is also fields available where you can specify from where you acquired the client and which marketing campaign brought in the client.
·It can also be separately specified to which branch and Debt Counsellor the client is assigned to if your organization has multiple branches and Debt Counsellors.

Click on the image to expand!
Click on the following headings to expand:

|

|
This form allows the user to insert and change the details regarding the client's employment information. 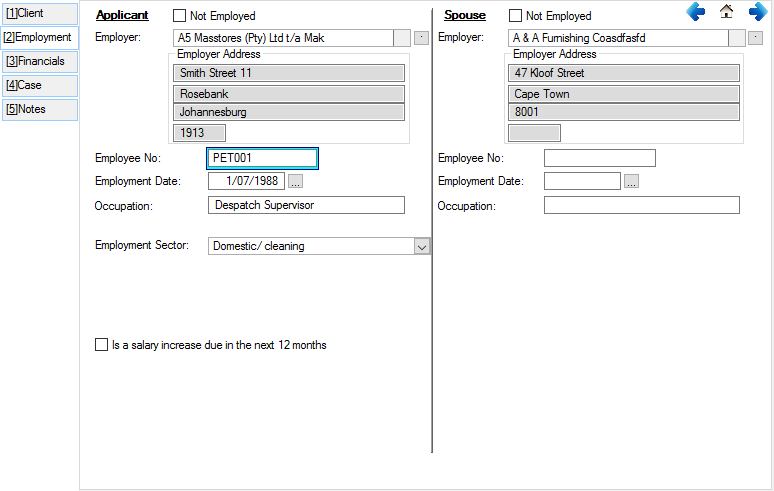
This is an example of the Employment tab
|
|
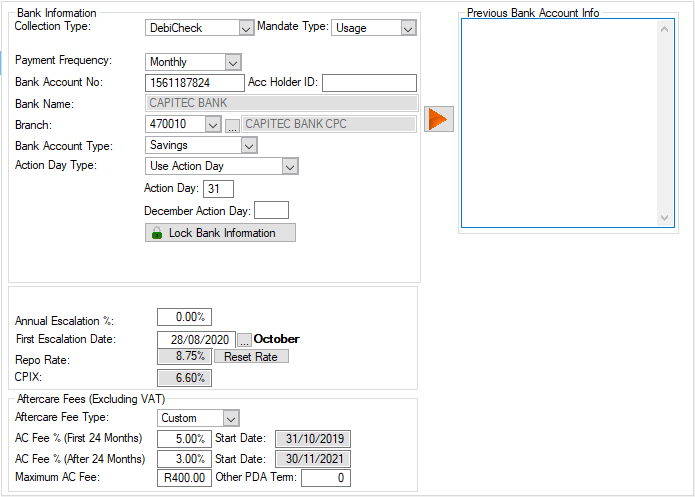
This form allows the user to insert and change the information regarding the client's financial details.
This is an example of the Financials tab
|

|
This form allows the user to insert and change the details of the client regarding the case of the client. 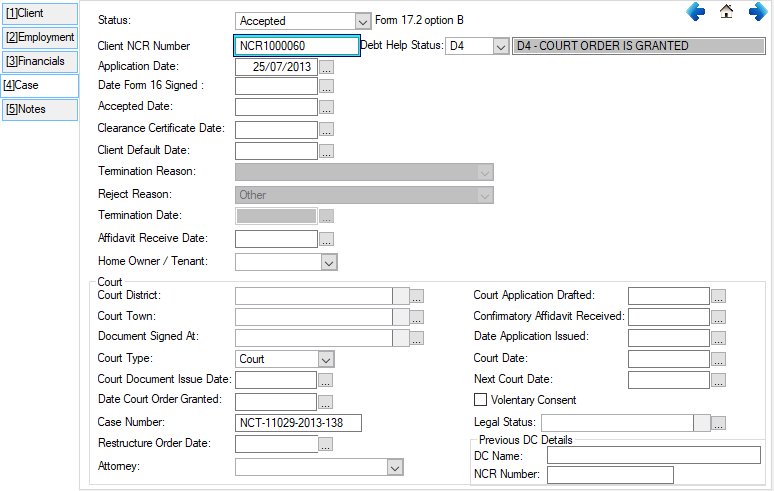
This is an example of the Case tab
|
|
This form includes various text boxes that allow the user to insert notes on a client. The "General Note" field can be viewed and edited from this window and from the "Client Info" tab on the client browse. 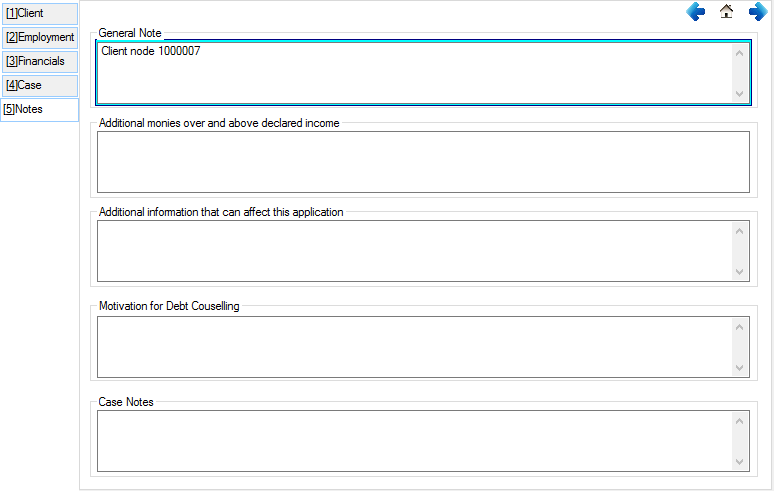
This is an of the Notes tab |
|
oThis window allows the Administrator to insert additional security on certain features. oThis will allow certain users to have access to certain features on the (*Subject*) browse. oThe security can be set by pressing Ctrl + F8 on the keyboard, this will open a browse where the Administrator can set the security for different features.
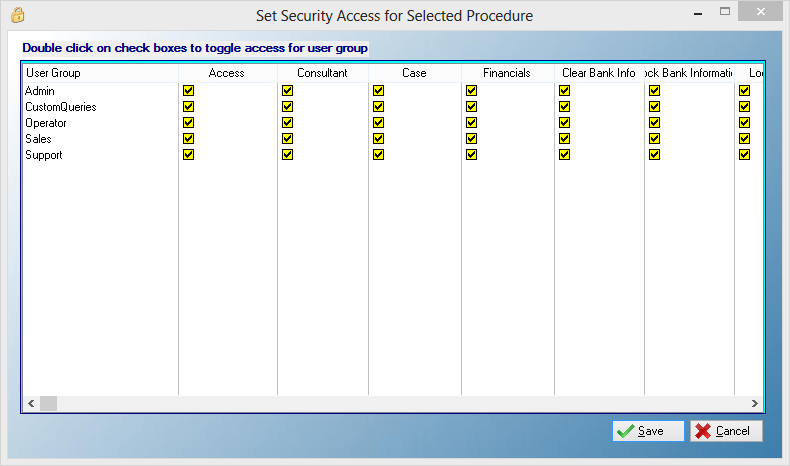
This is an example of the Set Security Browse
oOther security can also be set by clicking on the Lock Bank Information control, this control will lock the client bank information to prevent other users making changes. 
This is an example of the Lock Bank Information Control |